


Tracking high-intent visitors (leads) to your site, in real-time, is essential for sales teams. n8n, a powerful workflow automation tool, allows you to build seamless integrations between different services, including APIs, webhooks, and messaging platforms like Slack.
One practical use case is detecting when a large company (a "Big Fish") is browsing your website or submitting a form. By leveraging Abstract's API, you can automatically check the company size and, if it exceeds a certain threshold, trigger an instant Slack alert for your sales team.
In this tutorial, you’ll learn how to build an automated Big Fish detection system in n8n. This workflow will:
- Send a Slack alert notifying the sales team that a Big Fish is swimming.
- Check if the company size is over 100 employees,
- Use Abstract's API to fetch company details,
- Capture website visits or form submissions,
By the end of this tutorial, you’ll have a fully functional n8n workflow that helps your team track high-value leads effortlessly 🎇
Step 1: Set up Abstract
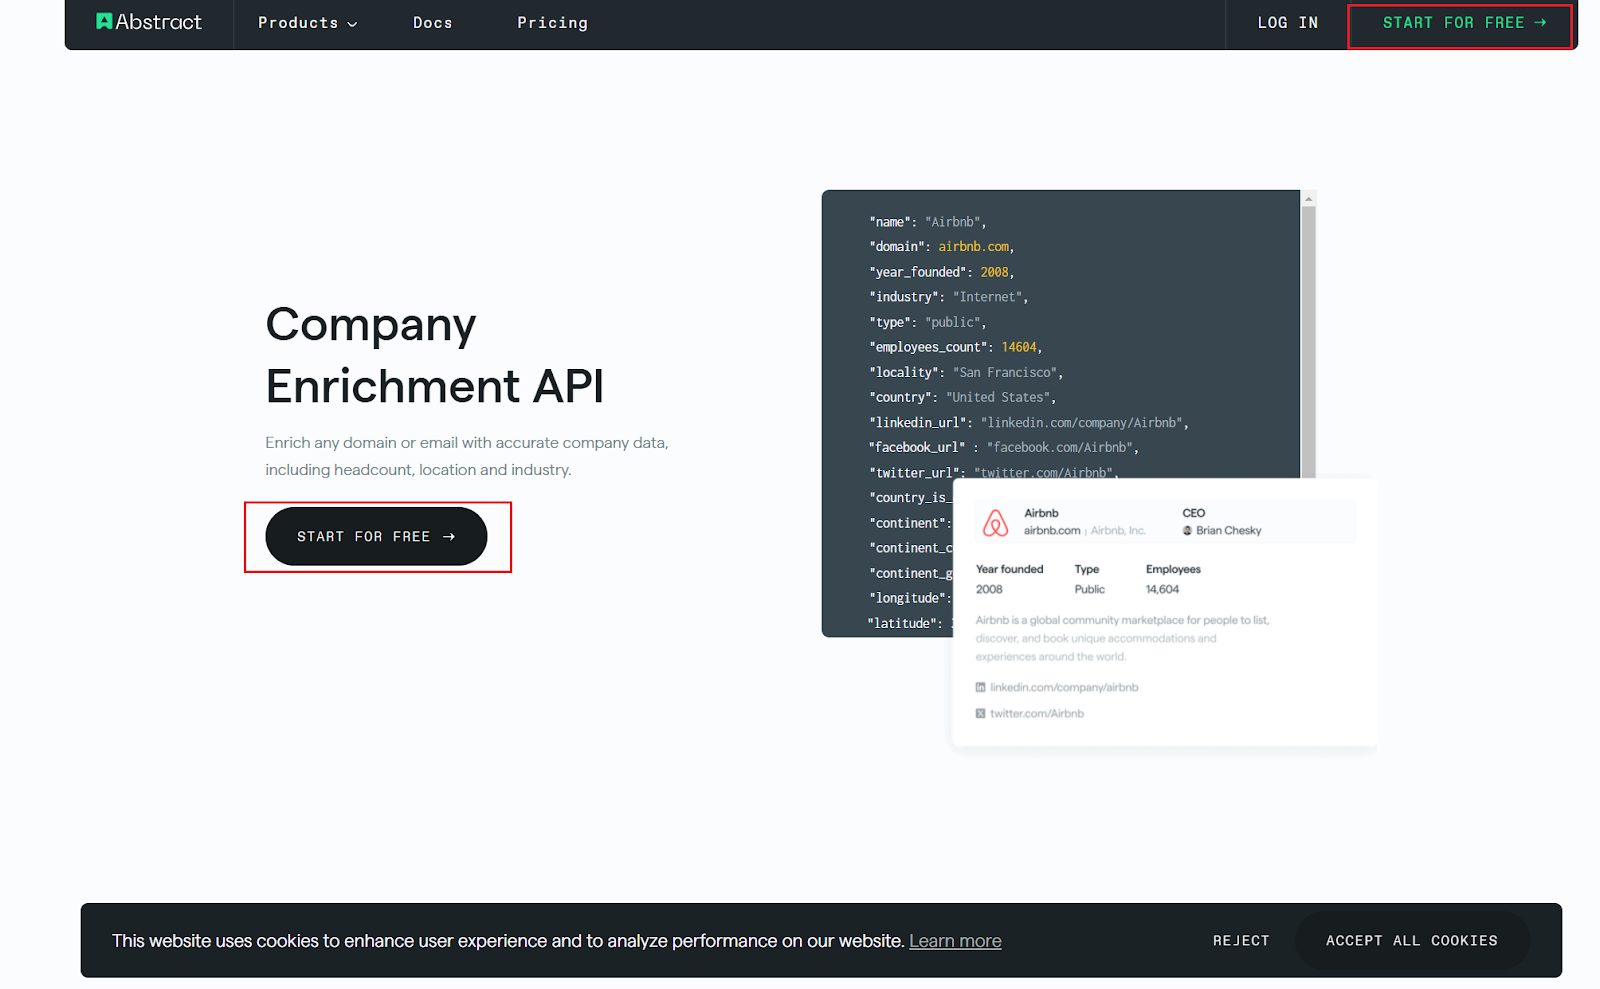
Head over to Abstract’s Company Enrichment API page. Click Start for Free to create your account. This will help us retrieve lead data with accurate company details like company size, location, and industry, which we’ll integrate into your n8n workflow shortly.
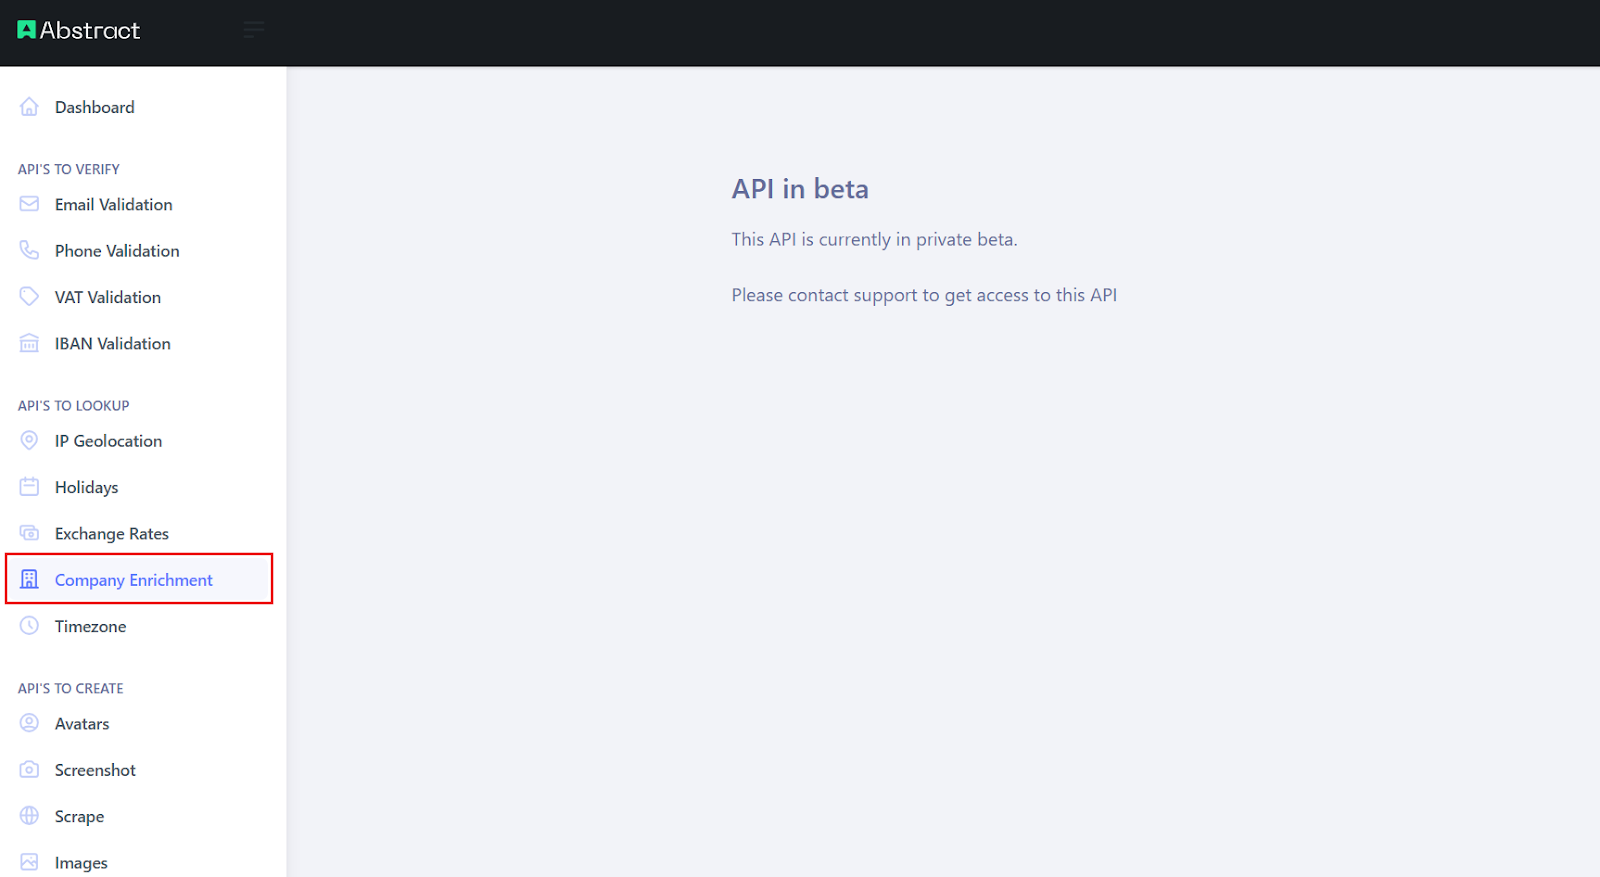
Once your account is set up, navigate to the Company Enrichment section from the dashboard.
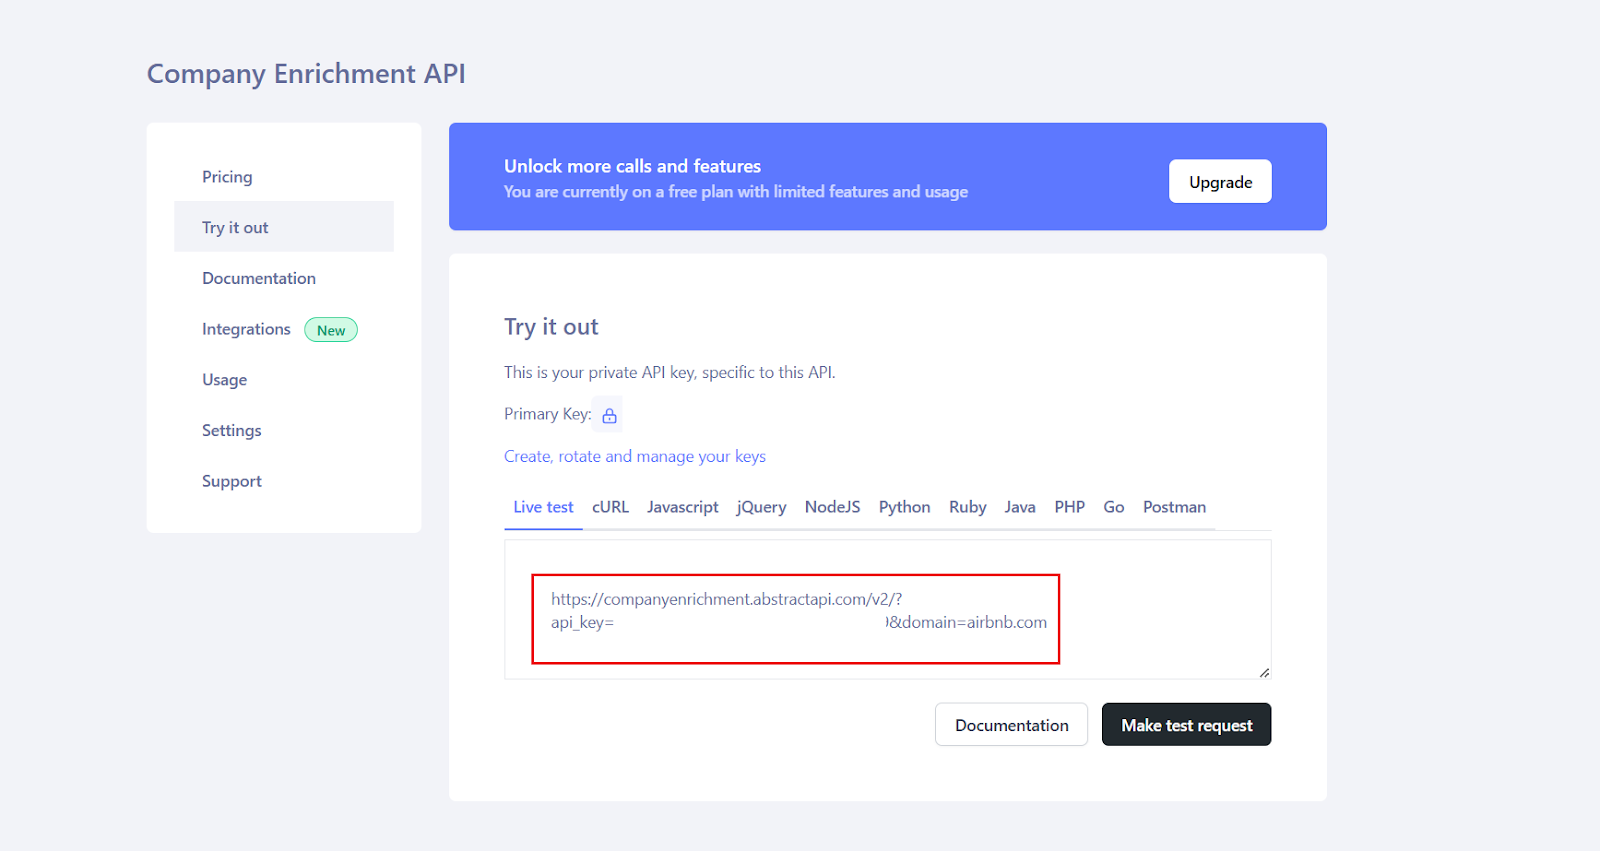
Here, you’ll find your API key and the request URL format, as shown below. Copy both; you’ll need them to integrate Abstract’s API with n8n for retrieving company size in your workflow.
Step 2: Set up Fillout
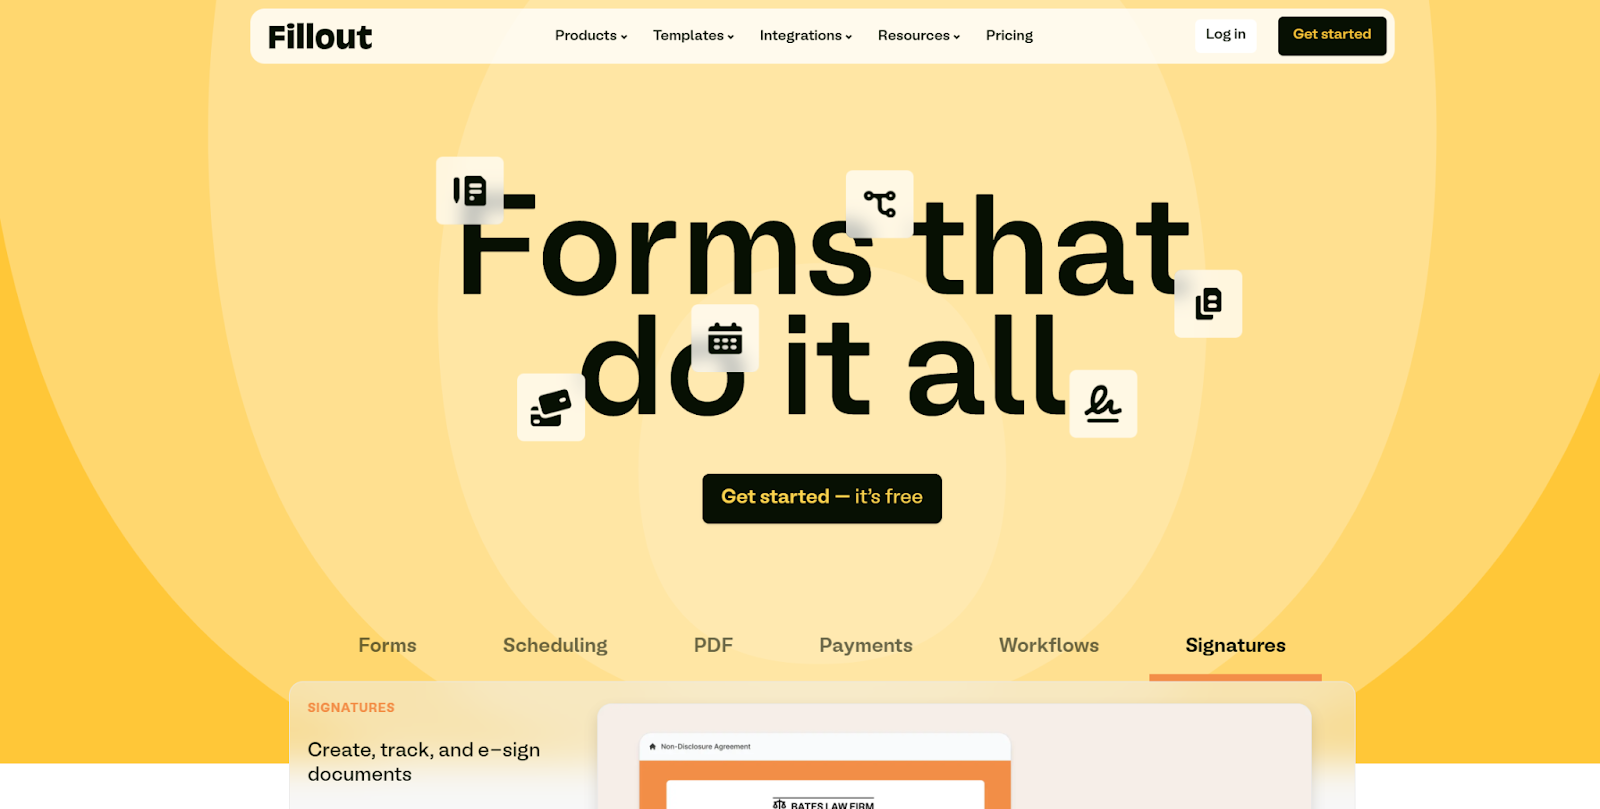
Now, let’s focus on creating the lead capture form using Fillout. Head over to the Fillout homepage and click the Get started – it’s free button. This form will collect lead information, which we’ll connect to the webhook in n8n to trigger our automated workflow.
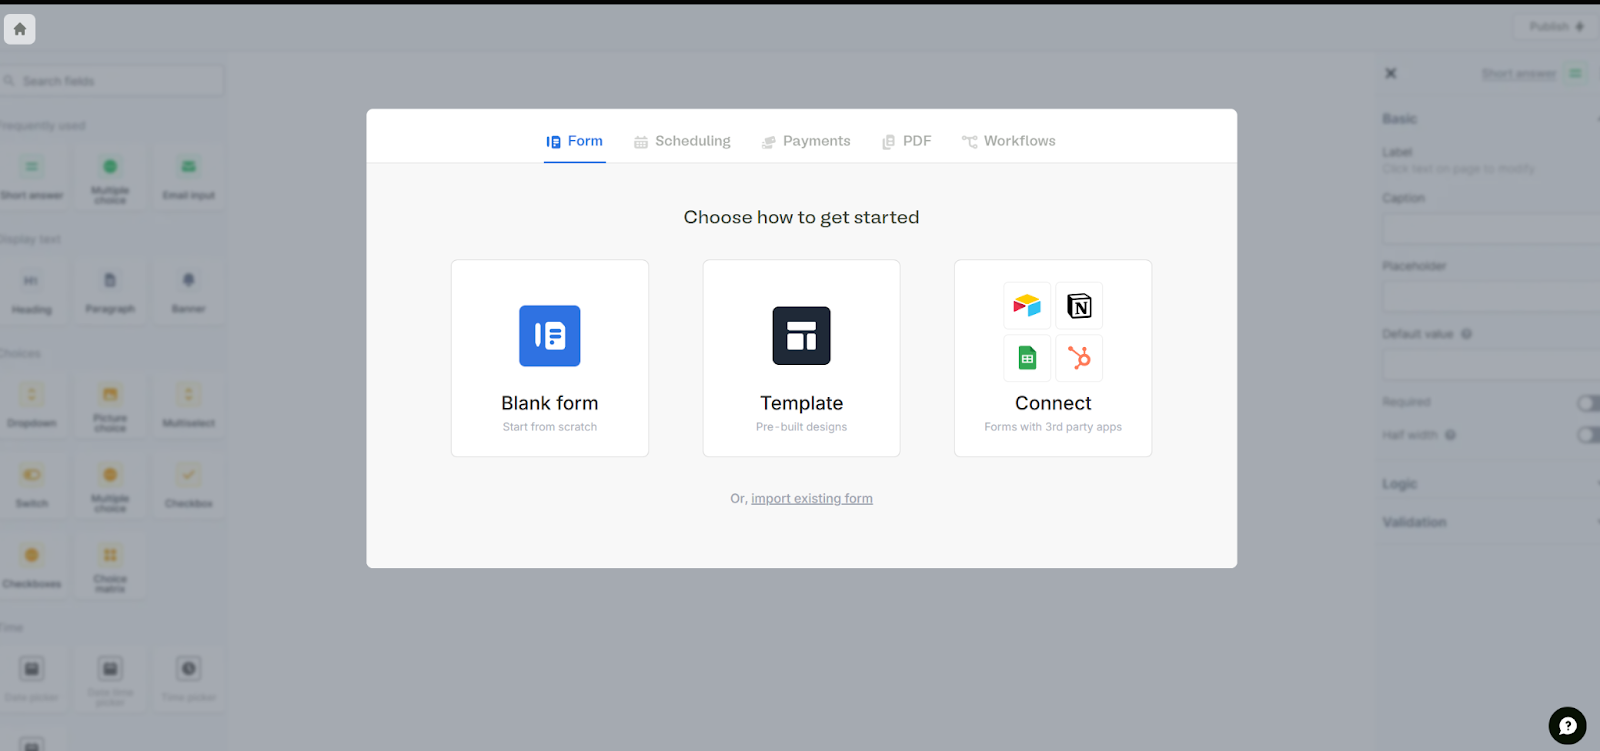
To create your lead capture form, choose Blank form as this allows you to start from scratch and customize the form fields to collect exactly the data you need, like name, email, and company domain. Once the form is ready, we’ll connect it to the webhook in n8n to trigger the workflow.
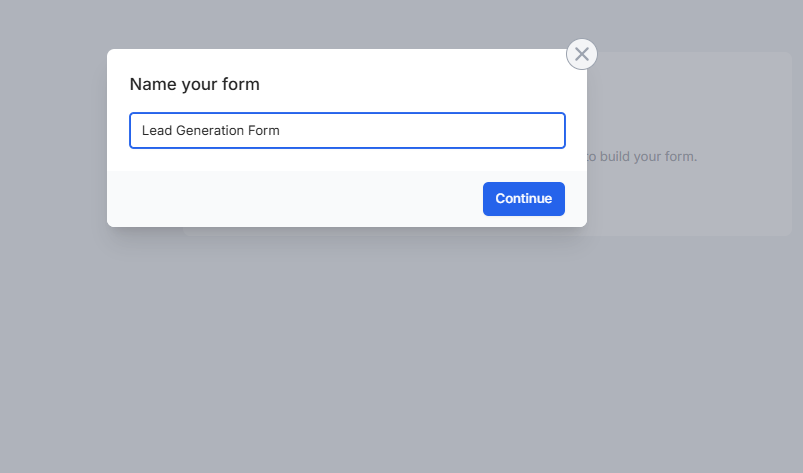
Name your form something like "Lead Generation Form" or any name that fits your workflow. Once you’ve named it, click Continue to start creating your form.
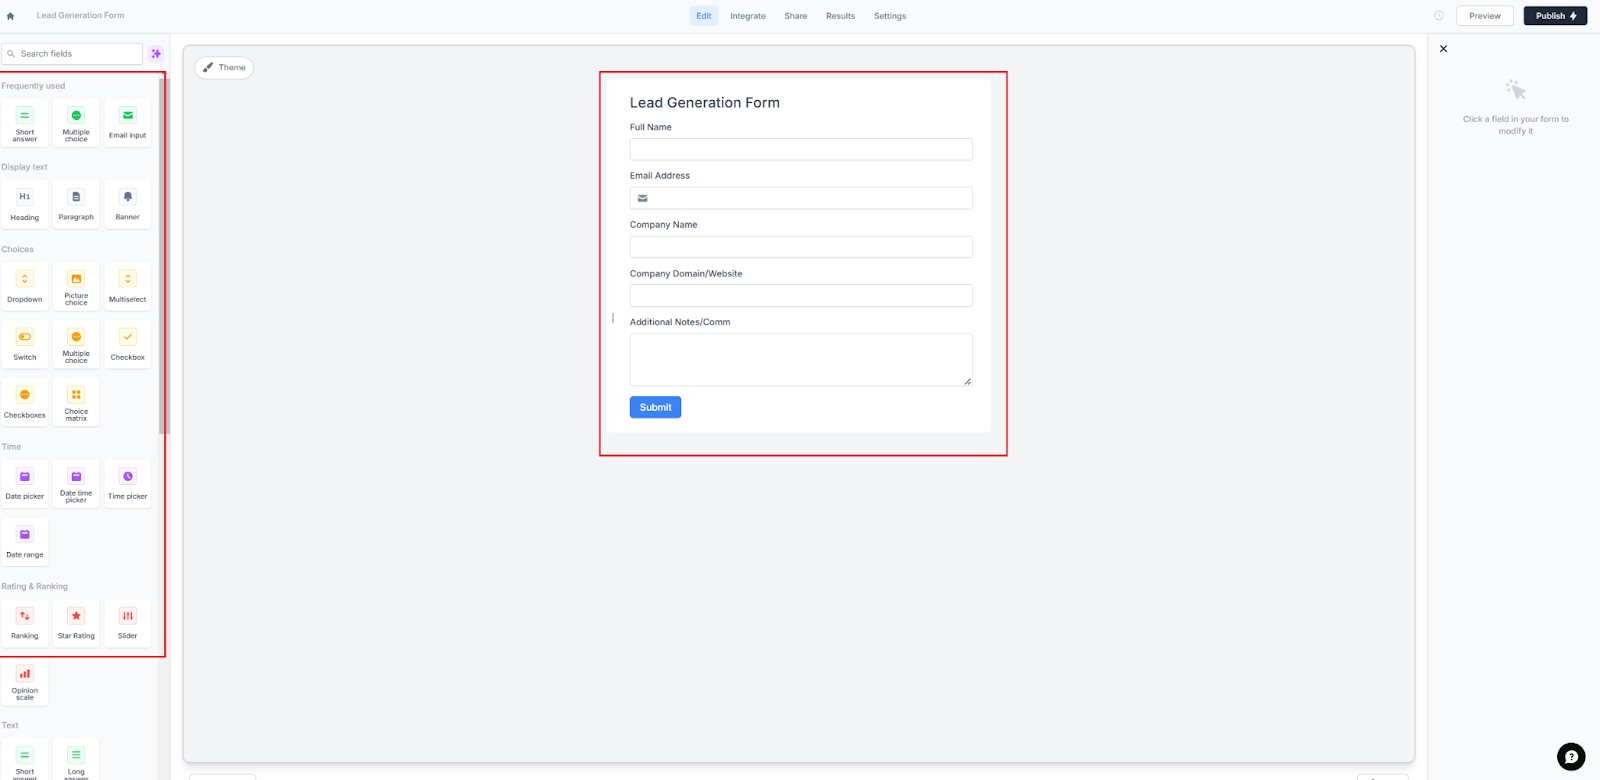
Use Fillout’s builder to add fields like text inputs, dropdowns, or checkboxes.
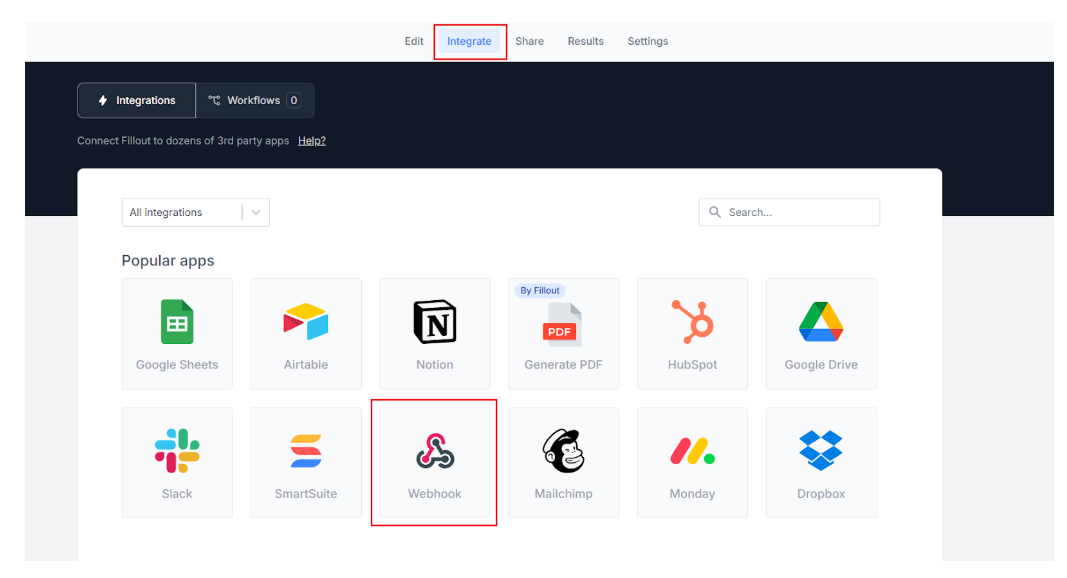
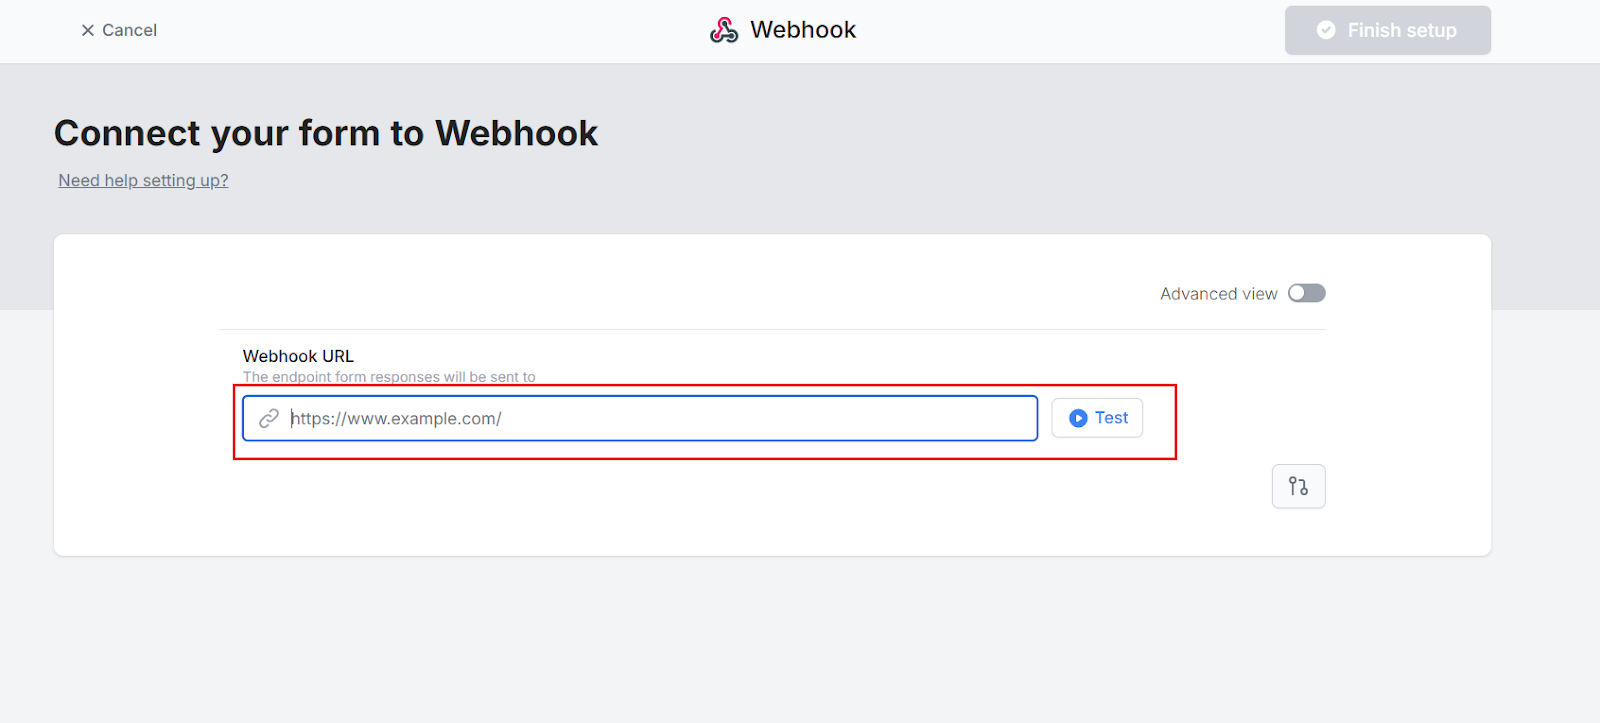
To connect your Fillout form to n8n, head to the Integrate tab at the top of the Fillout dashboard. From the list of popular apps, select Webhook. This will allow you to send form submission data directly to the n8n webhook URL we set up earlier, triggering your automated lead workflow.
Paste the URL from which will be gotten from n8n later in this tutorial into the Webhook URL field and enable Advanced View.
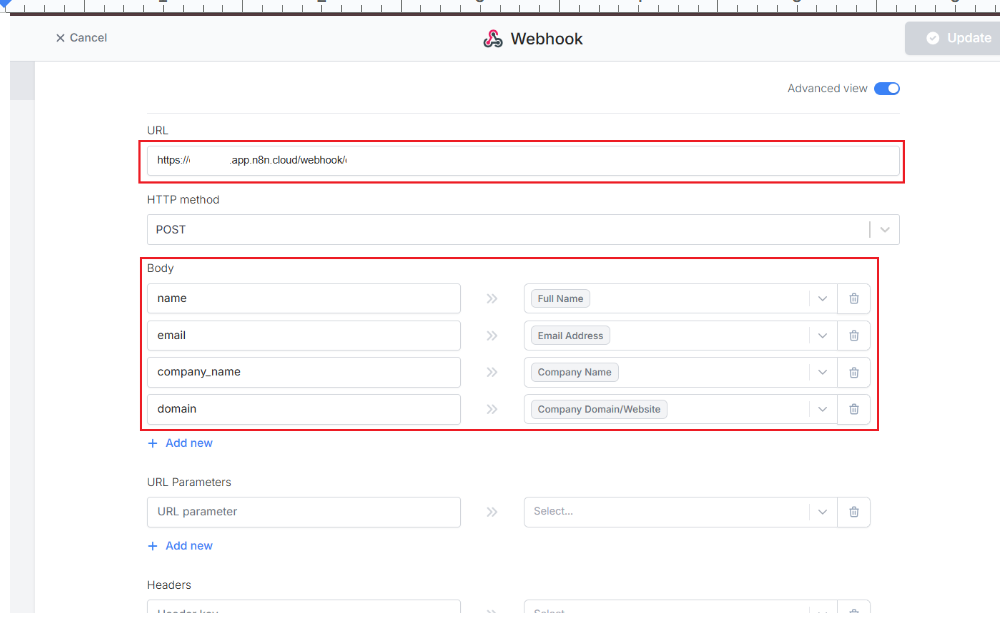
In the webhook setup, set the HTTP method to POST. Under Body, map the form fields to match your data structure - like name, email, company.name, and domain. This ensures that when a lead submits the form, all the necessary details are sent directly to your n8n workflow, click Finish setup to complete the integration. This will allow your form submissions to trigger the workflow in n8n.
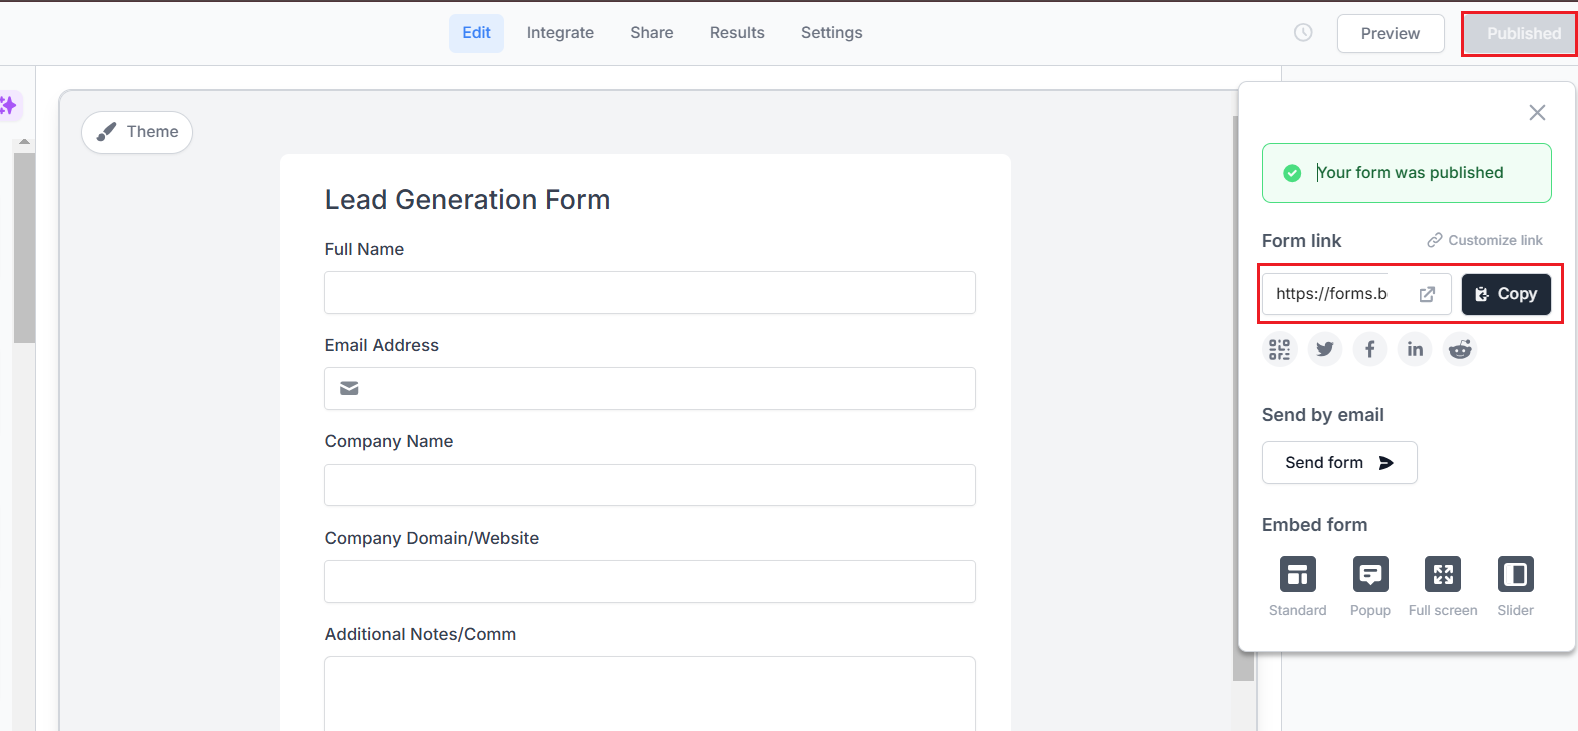
When satisfied with all your set up, click Publish in the top-right corner. You'll receive a shareable link or embed code.
Step 3: Set up n8n
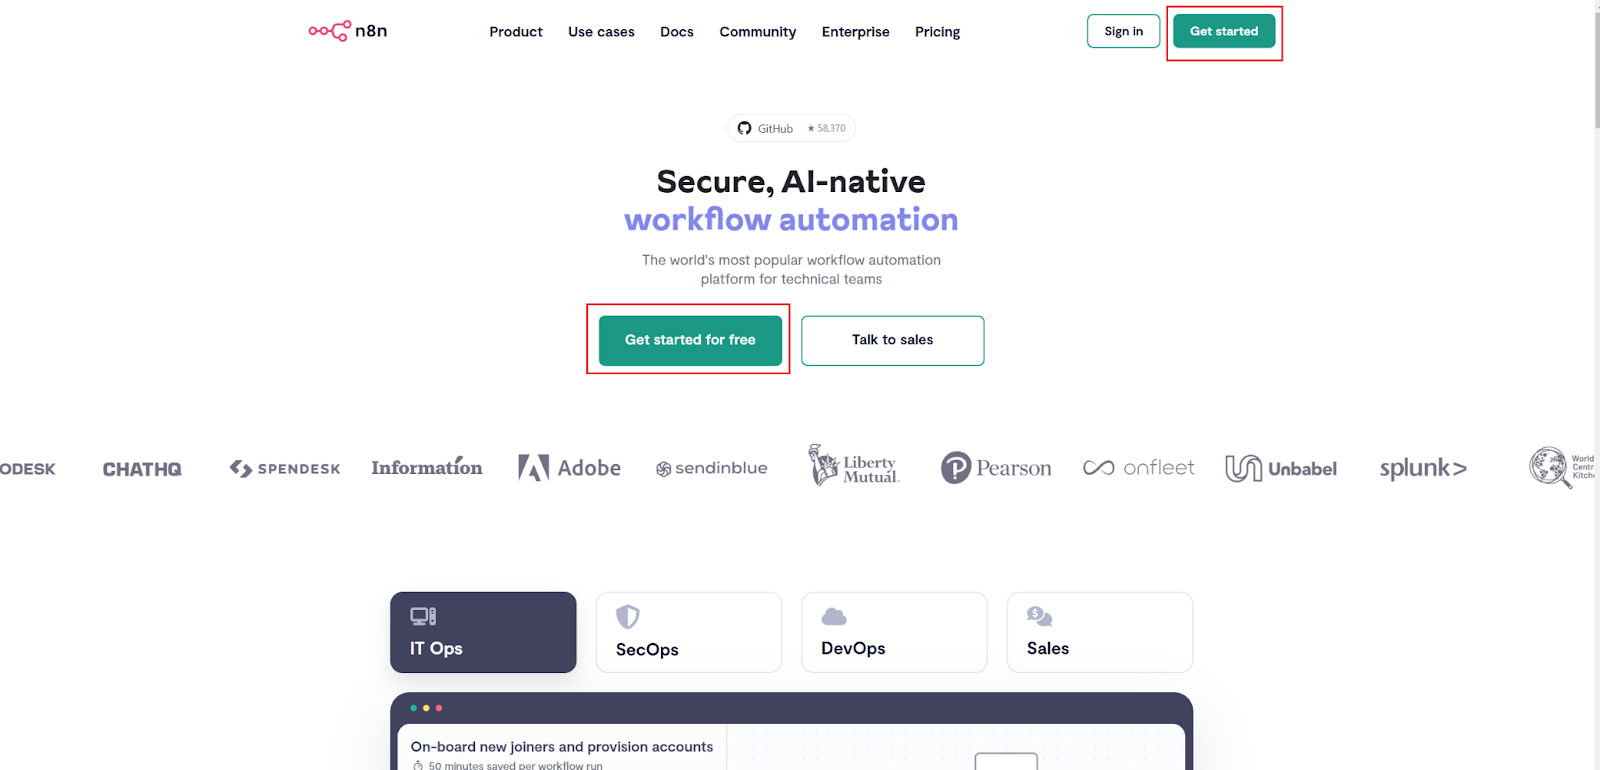
To get started with automating lead alerts in n8n, head over to n8n.io and click the Get started for free button in the center of the page, as shown in the screenshot. This will guide you through setting up a new account. If you already have an account, simply click Sign in at the top right corner.
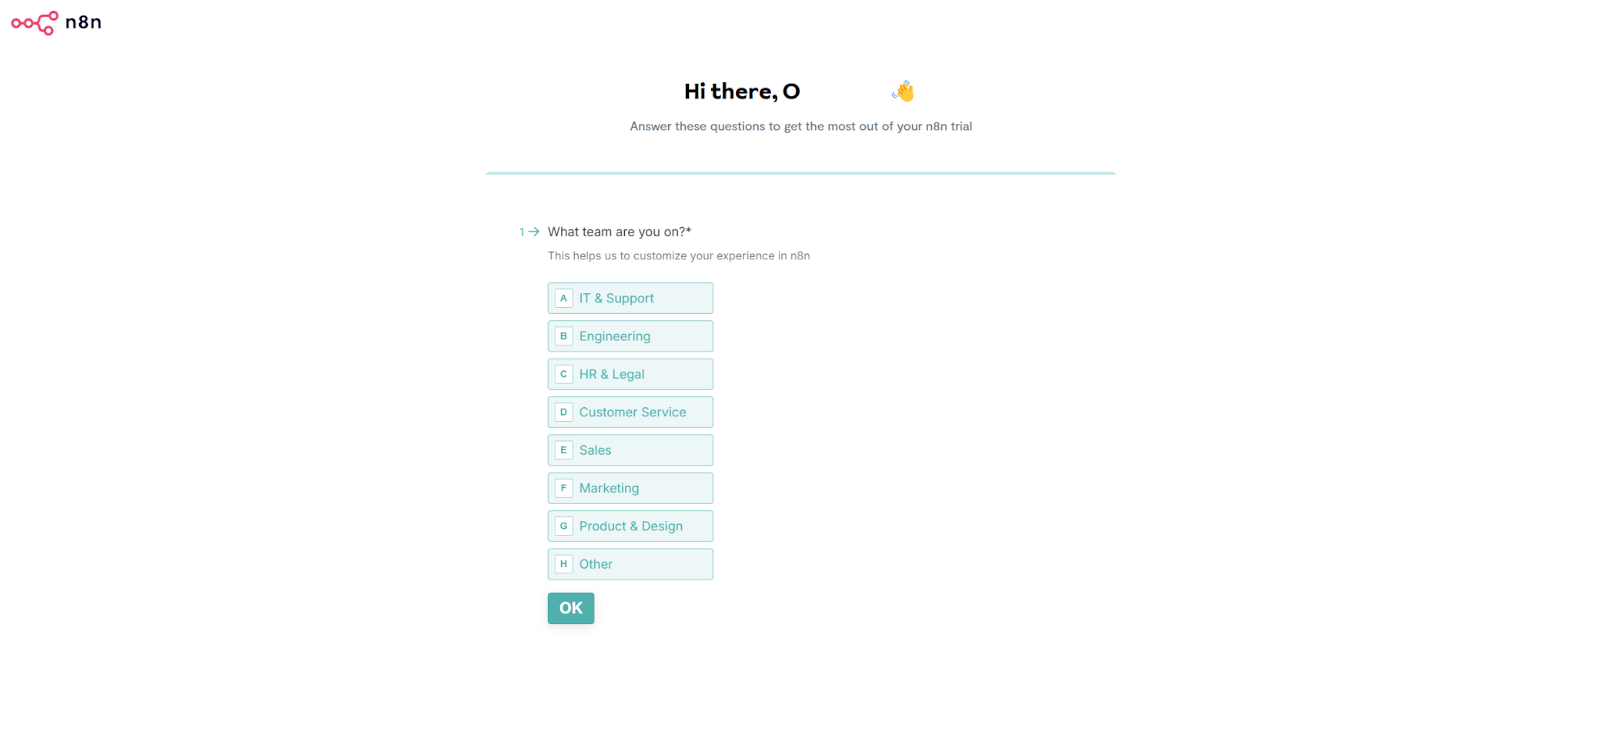
After completing the registration form, n8n will prompt you with a few quick questions to tailor your experience. Select the options that best fits you, then click OK to proceed. This helps n8n customize the platform to better suit your needs, but don't worry, your choice won't affect the workflow creation process!
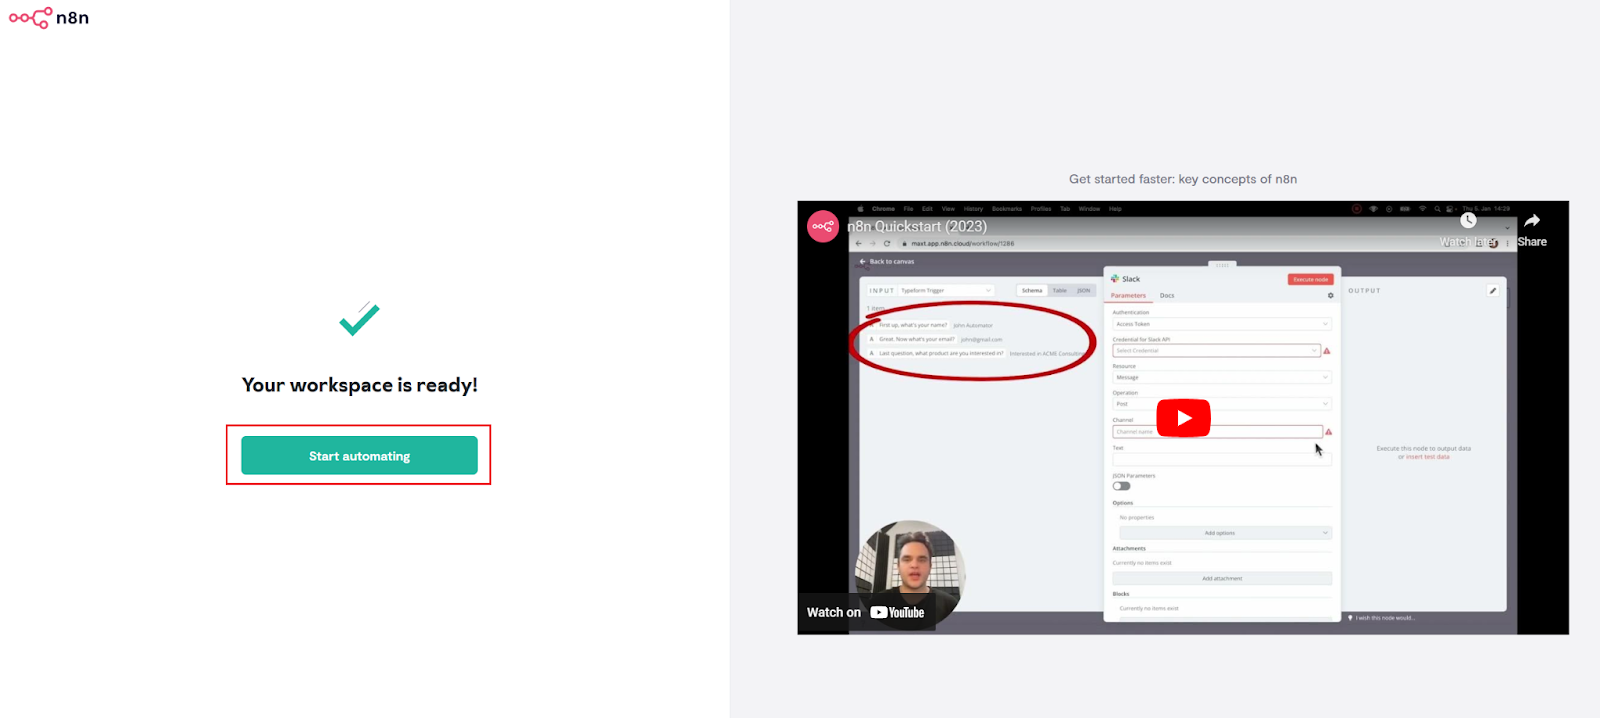
Once you've completed the setup, click the Start automating button to start creating your workflow.
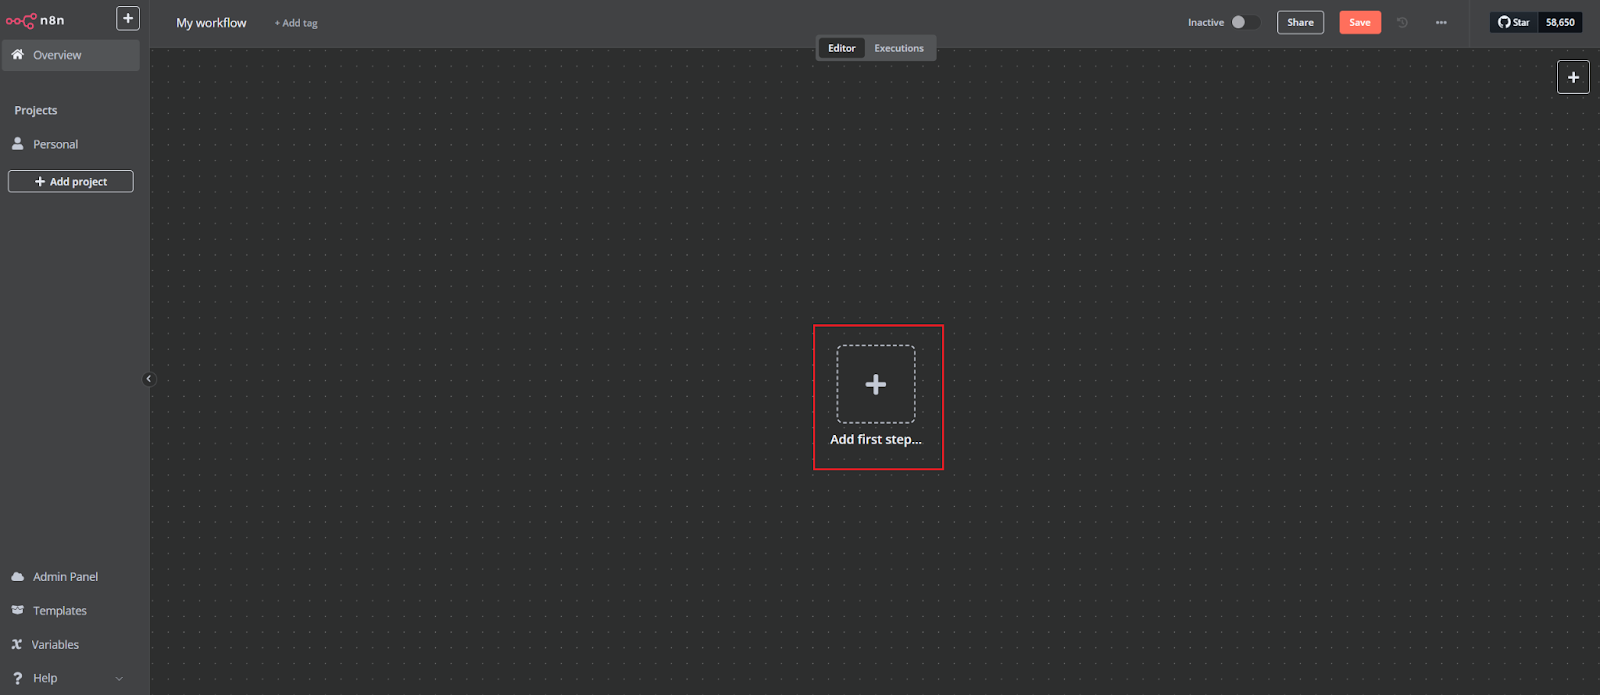
You'll land on the n8n dashboard. To create your first workflow, click Start from scratch in the center of the screen or use the Create Workflow button in the top-right corner.

Once you’ve started your workflow, click Add first step... in the center of the screen. This is where you’ll add your trigger, this could be a new submission in your form which will kick off the automated process. Let’s set up that first step!
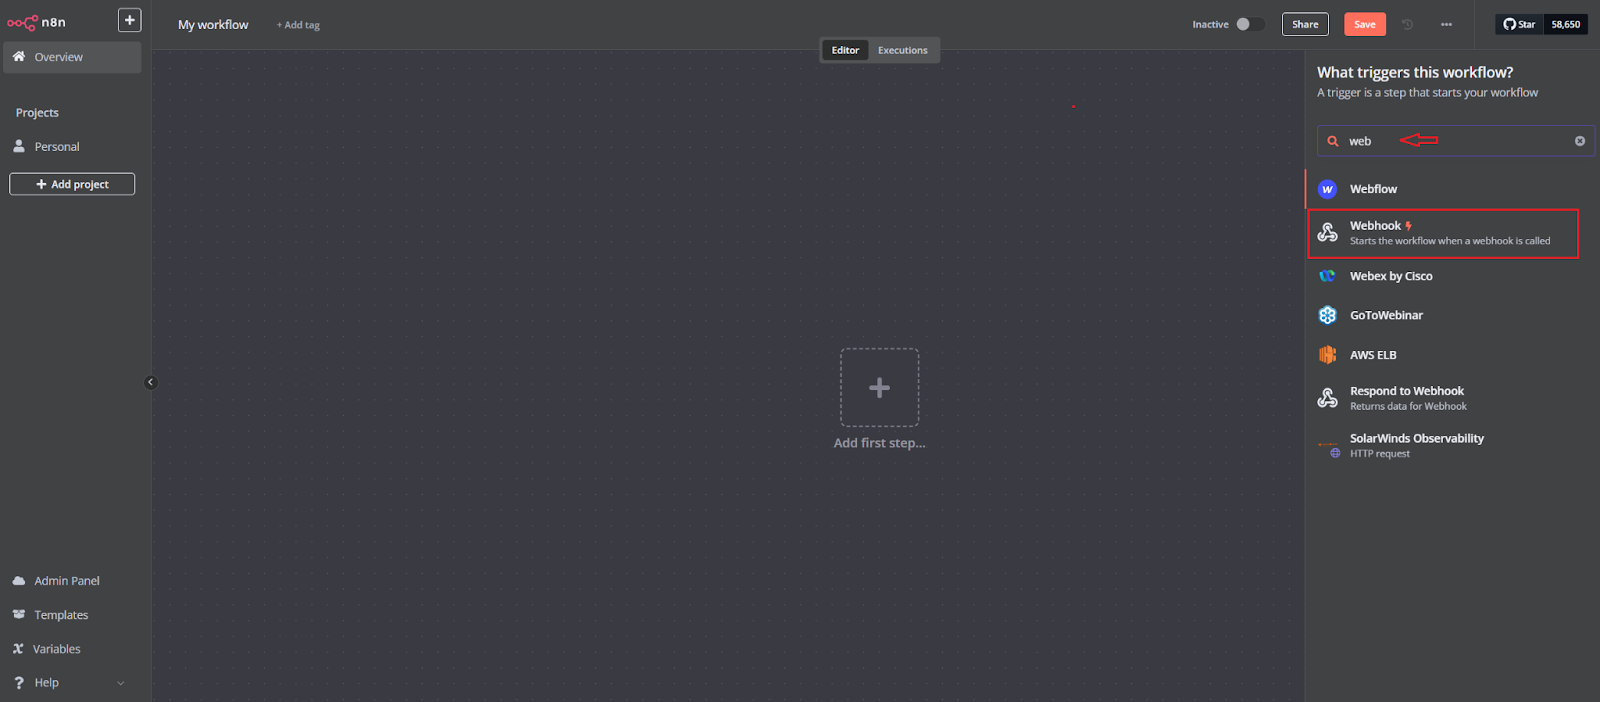
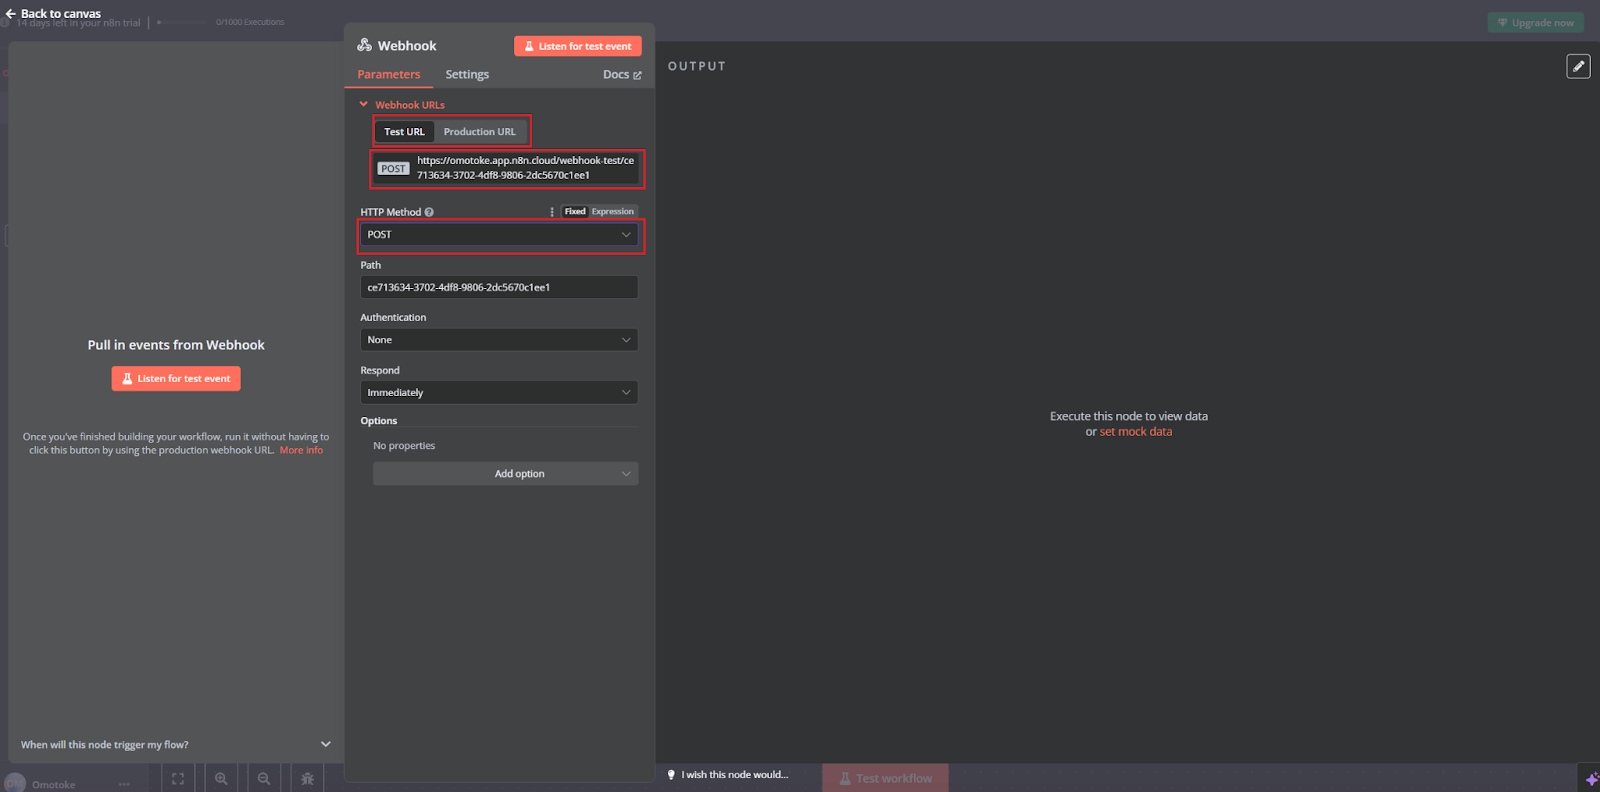
After clicking Add first step..., you'll be prompted to choose a trigger to start your workflow. Search and select Webhook from the list. The webhook will listen for new lead data and trigger the workflow when it's called.
Configure your webhook by setting the HTTP Method to POST and copying both the Test URL and Production URL provided. These URLs will be essential when we connect the webhook to the lead form later in the tutorial. For now, keep them handy: we’ll return to this step once the form setup is complete.
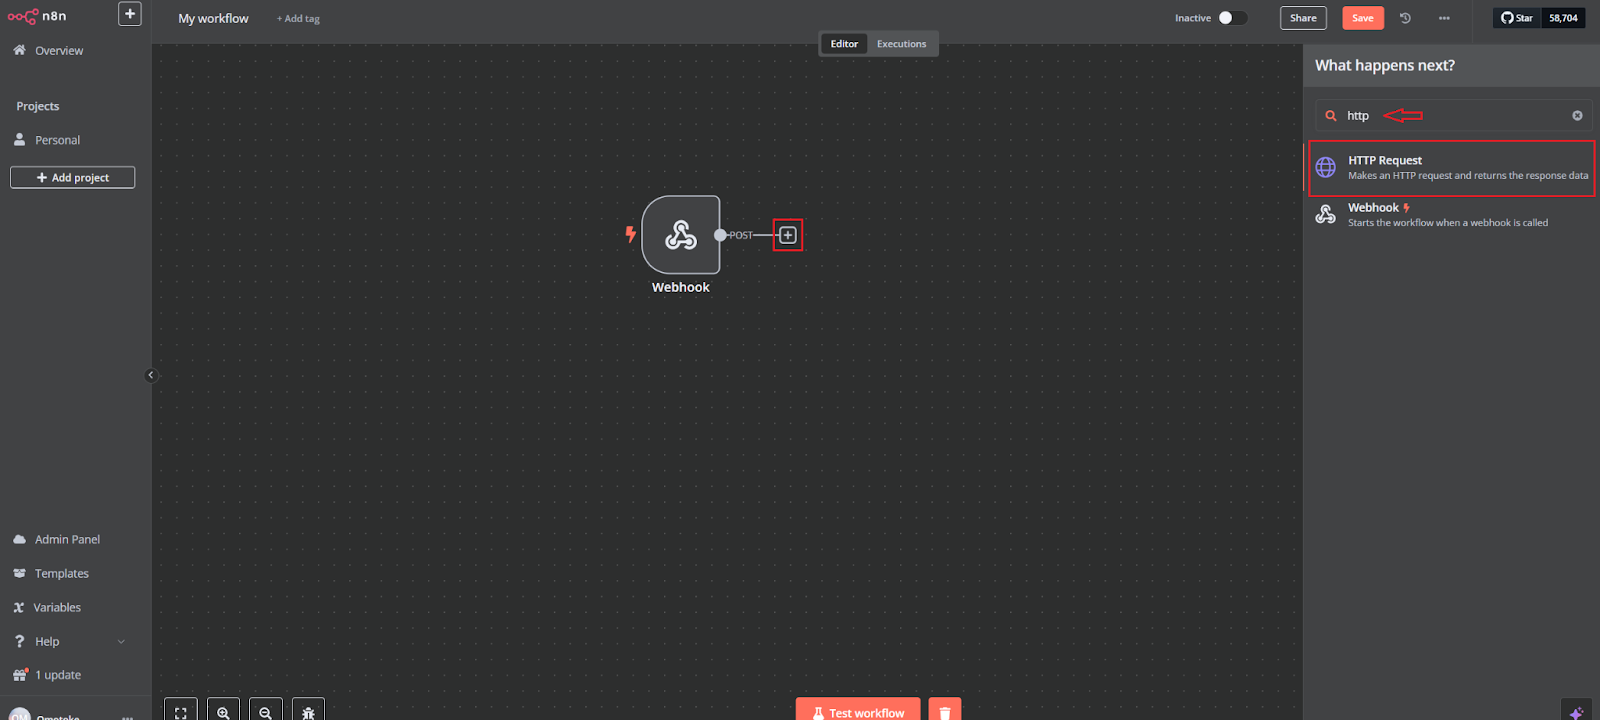
Click the plus (+) icon next to the Webhook node, then search for "HTTP" in the right-hand panel. Select HTTP Request as shown in the image below.
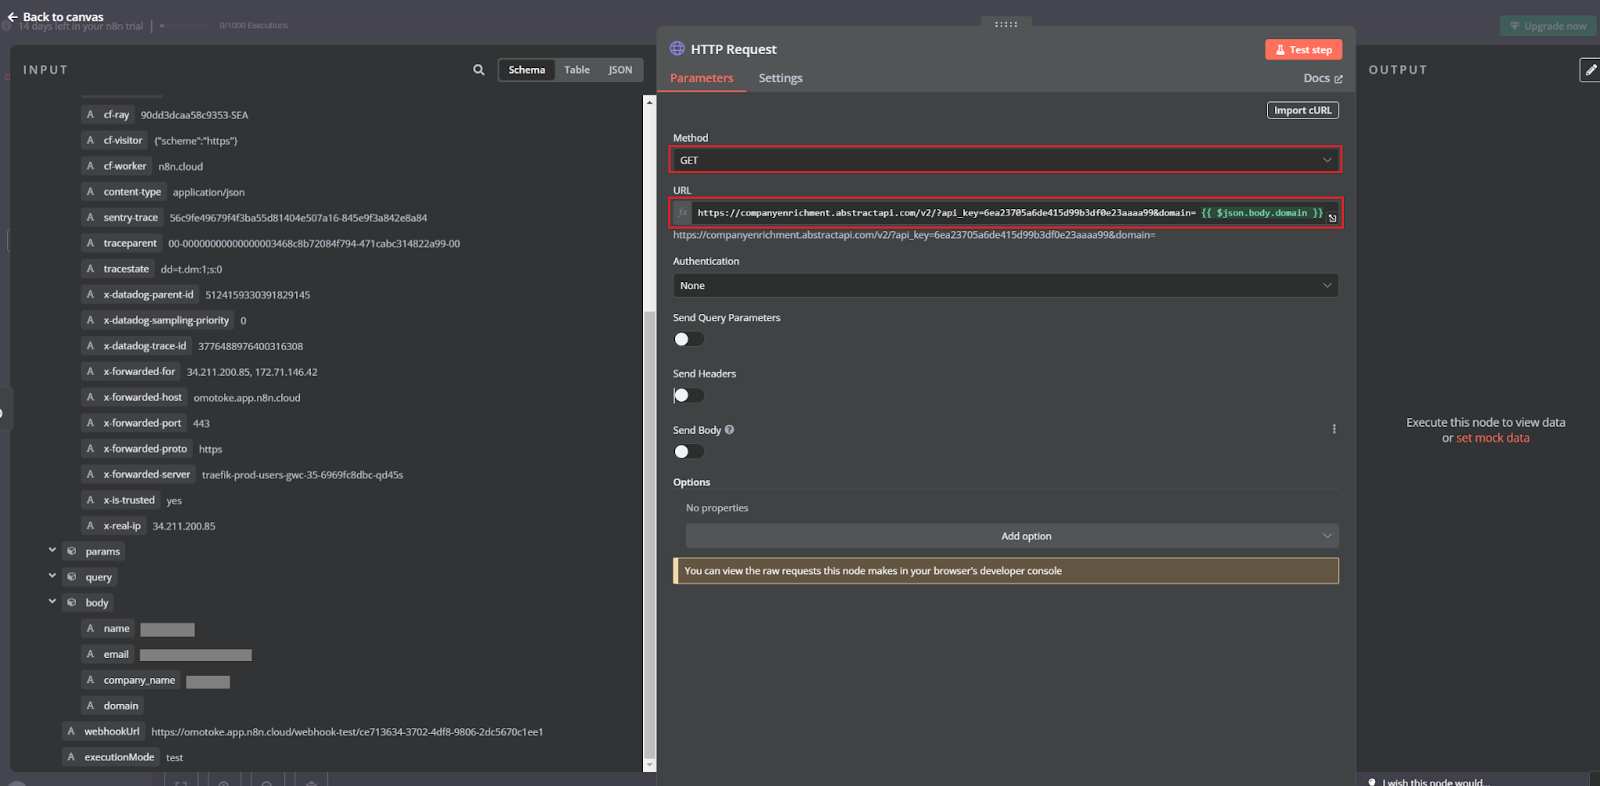
In the HTTP Request node settings:
- Set the Method to GET and paste the API endpoint from Abstract's Company Enrichment API into the URL field.
- Dynamically insert the domain from the form submission using the expression {{$json.body.domain}}. This will fetch company details like size, location, and industry based on the submitted domain.
- Once configured, click Test step to ensure the request pulls the correct data.
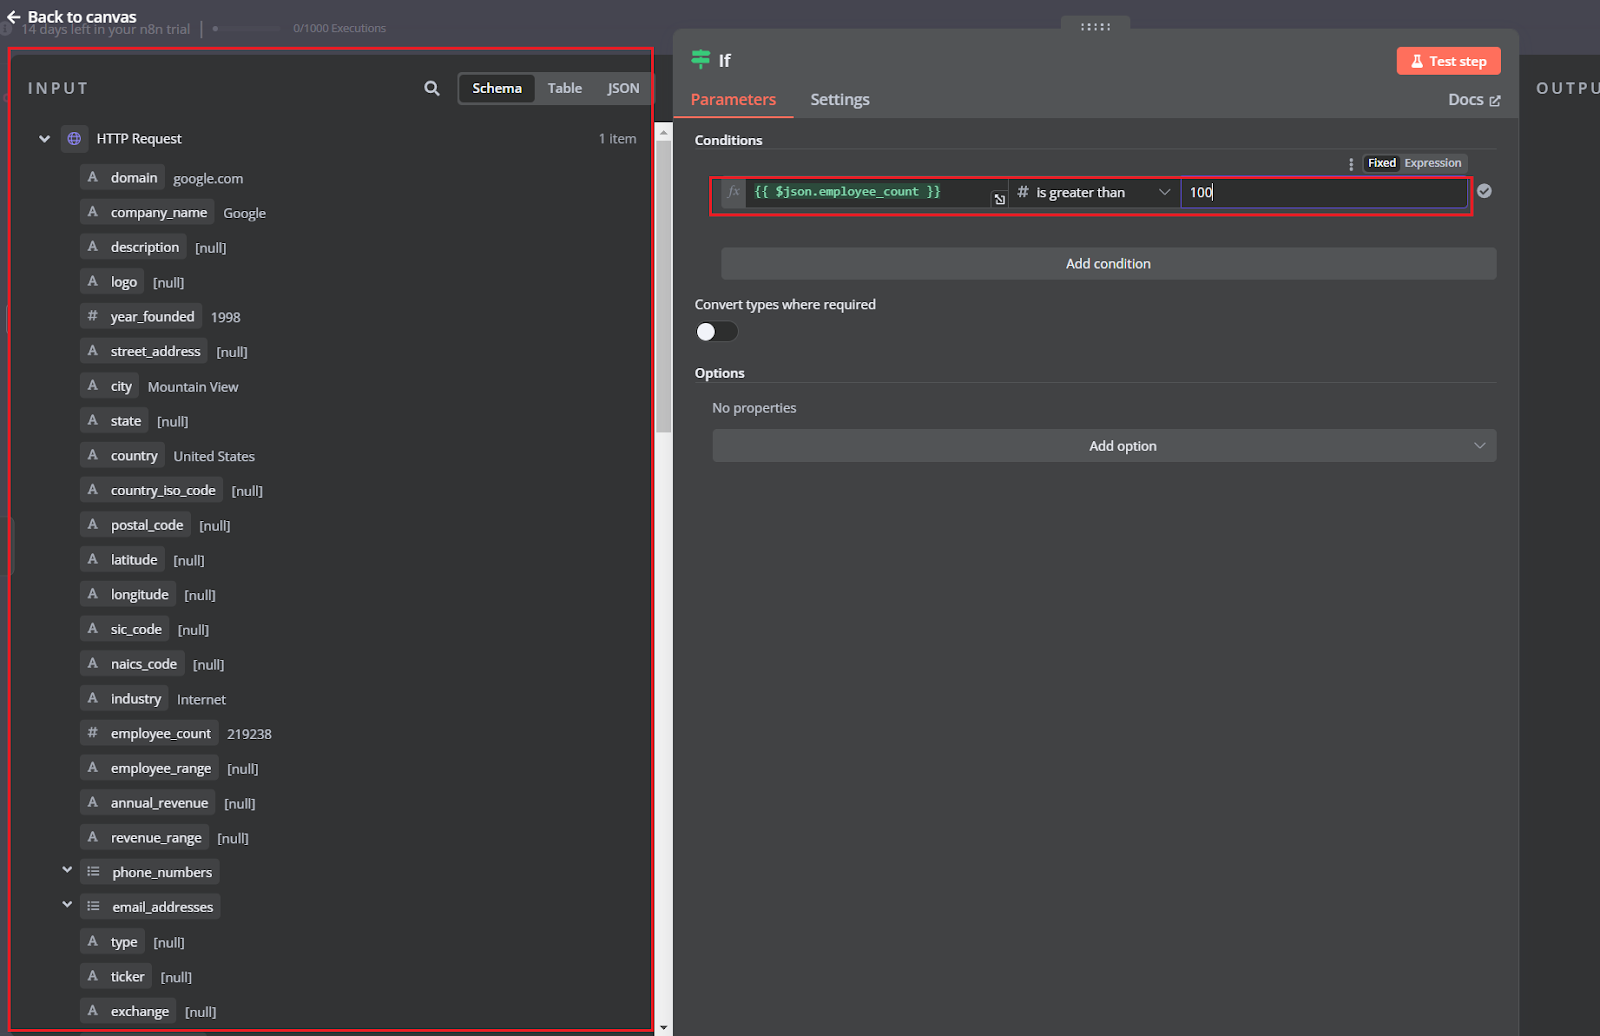
Now, let’s filter for the big fish! Click the plus (+) icon next to the HTTP Request node, search and select IF to add a condition to your workflow.
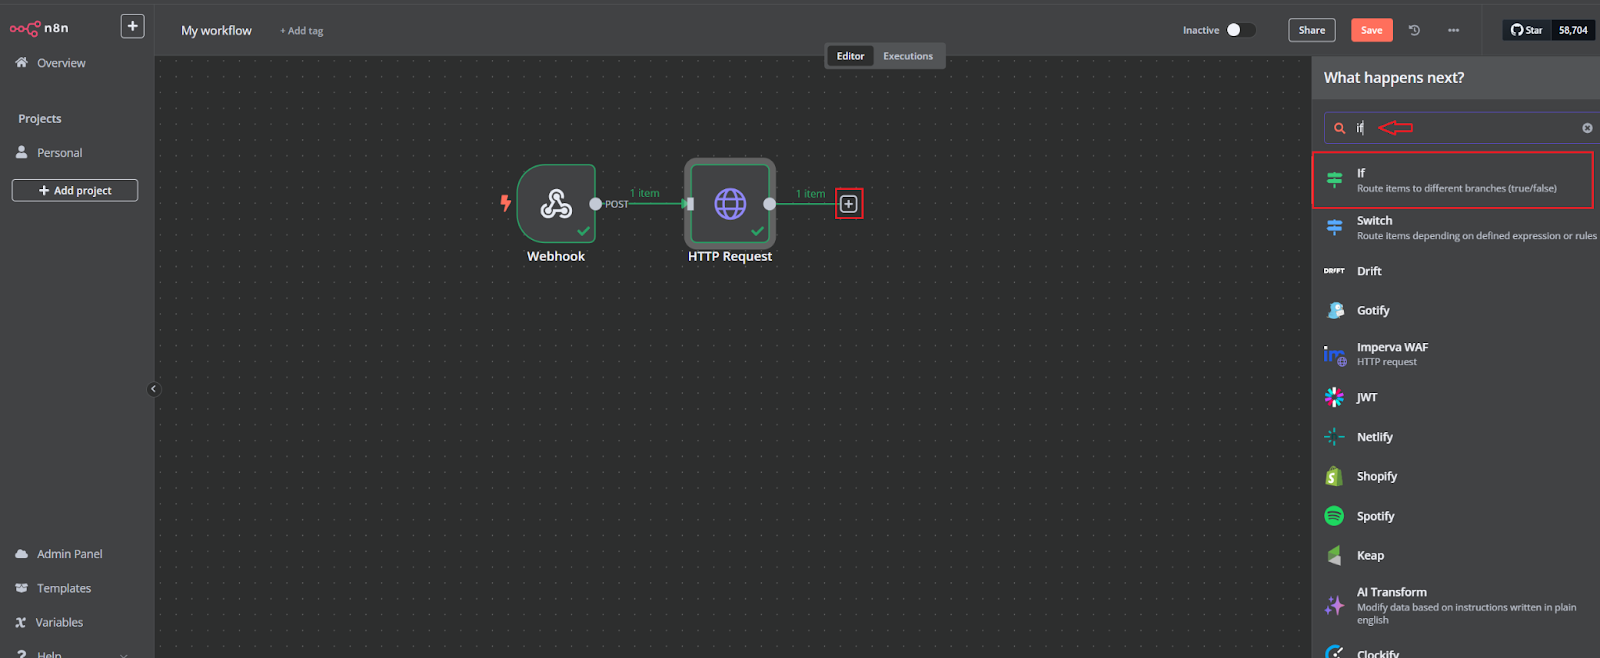
Configure the condition to check if the employee count is greater than 100. Use the expression {{$json.employee_count}} > 100. This ensures that only leads from companies with over 100 employees will proceed to the next step in your workflow. Click Test step to check the condition is working correctly.
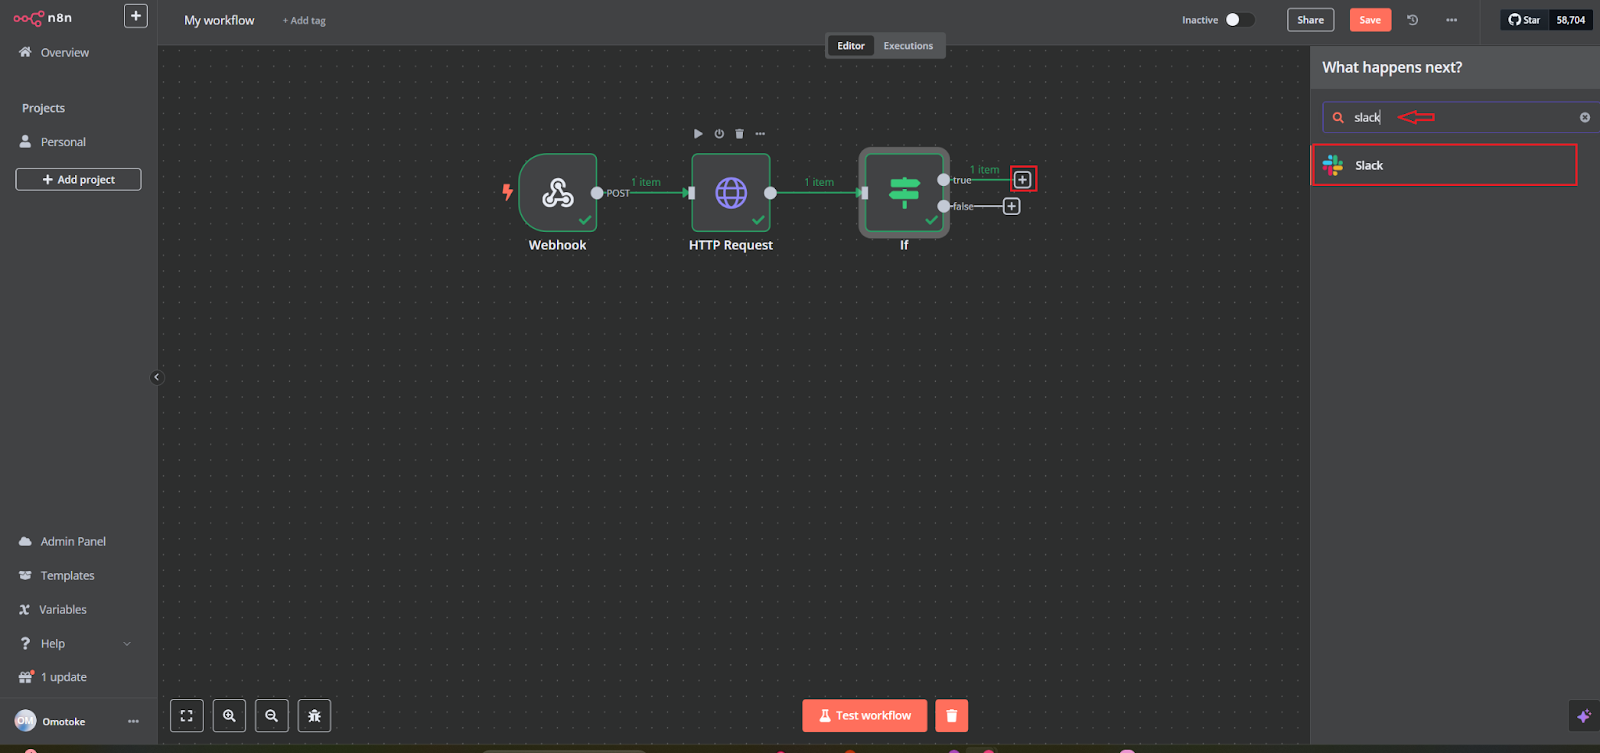
Now, let’s send an alert when a lead qualifies! Click the plus (+) icon next to the IF node’s true branch, search and select Slack. This will allow you to send a notification directly to your Slack channel whenever a lead from a company with over 100 employees comes through.
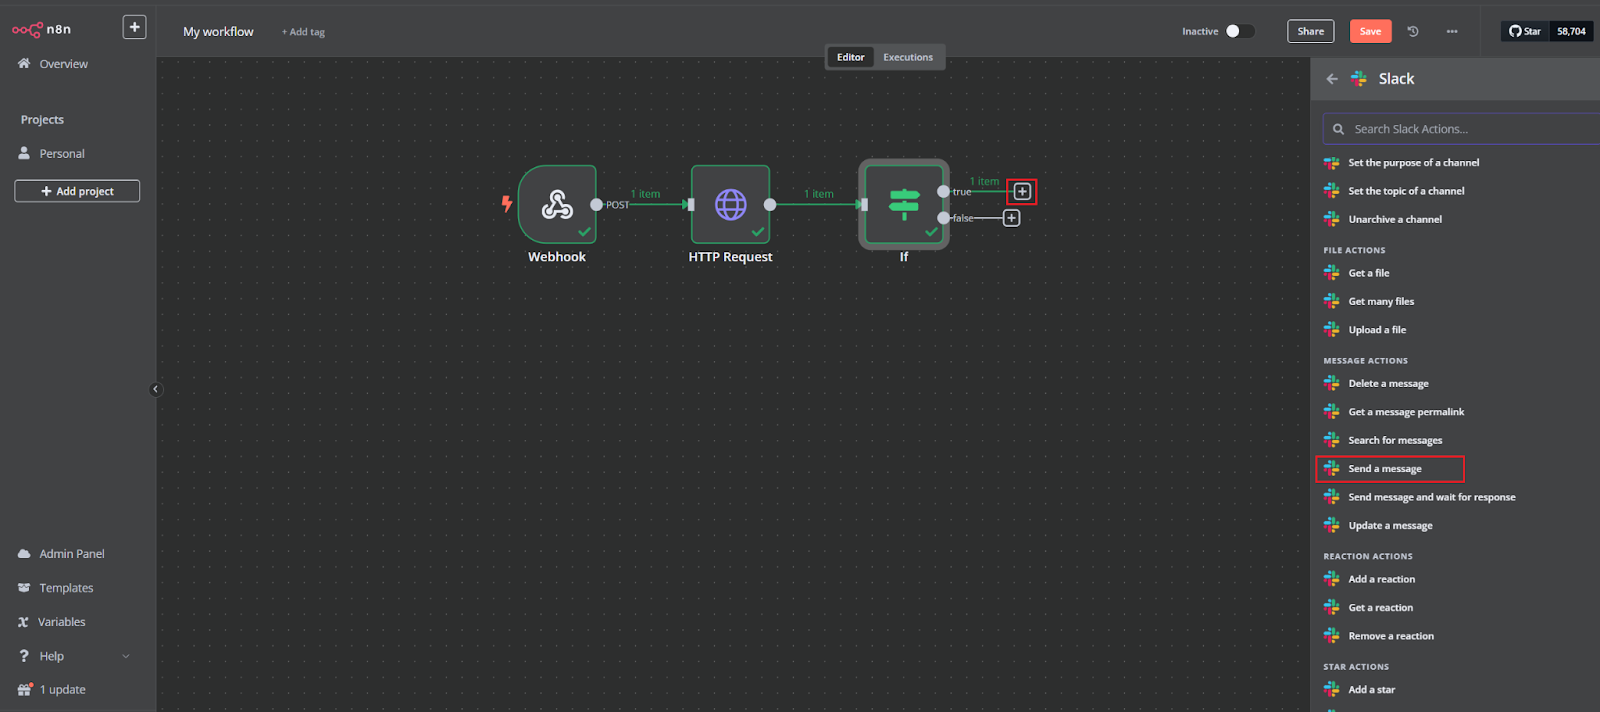
Choose Send message from the options under Message Actions.
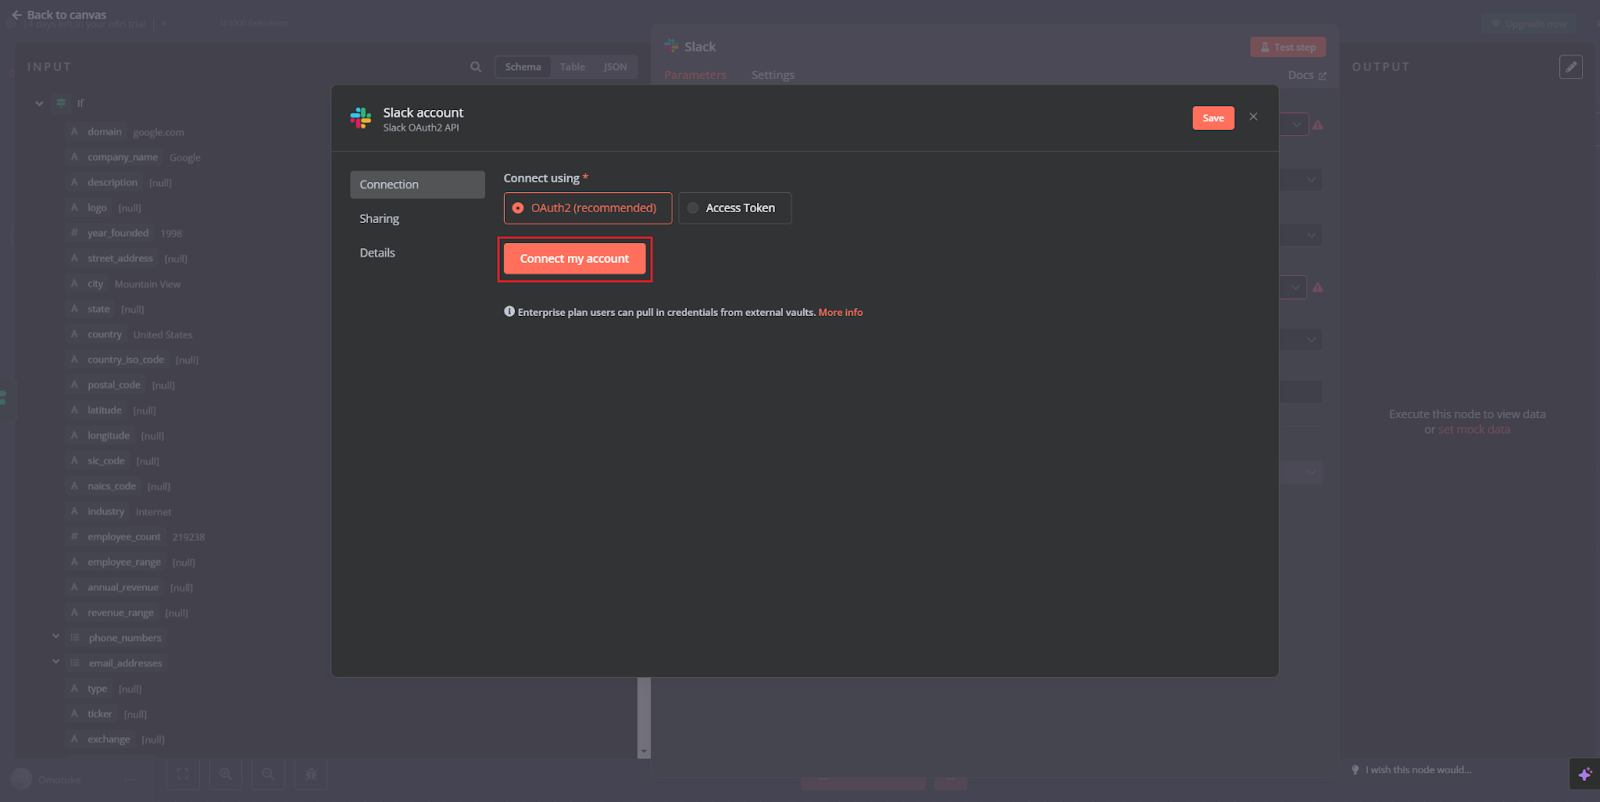
In the Slack node settings, click Create new credential to connect your Slack account to n8n.
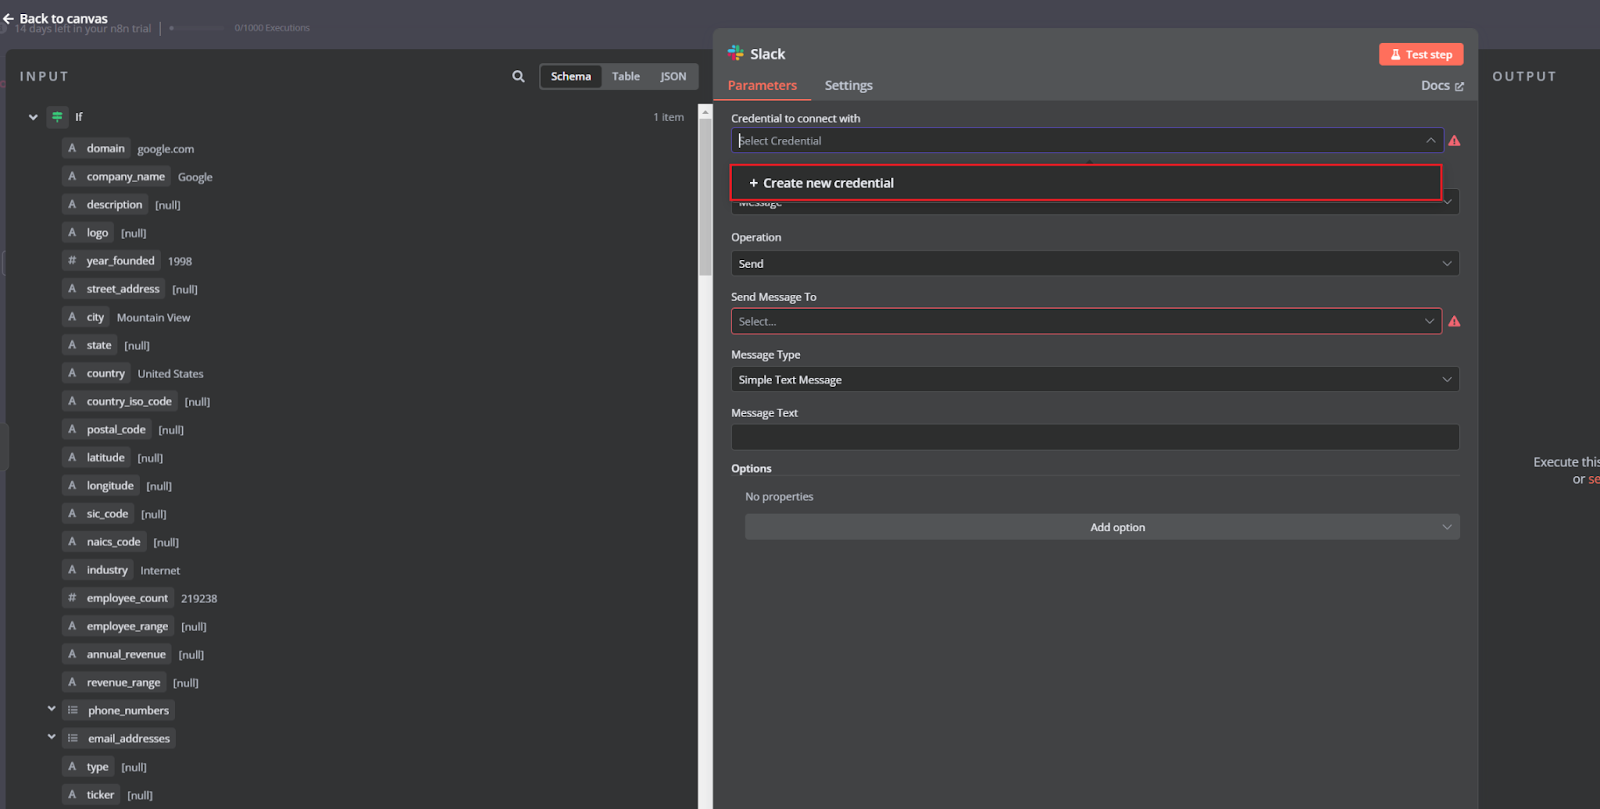
Select OAuth2 (recommended) and click Connect my account.
Once authenticated, choose the Slack channel where you want to send lead alerts under Send Message To. Then, craft your message using lead data from the workflow - like company name, size, and contact info. After setting it up, click Test step to ensure everything is working correctly.

Your automated lead alert workflow is now complete! All nodes - from the Webhook to the Slack message - are connected and ready to go. Click Save in the top-right corner to secure your workflow.
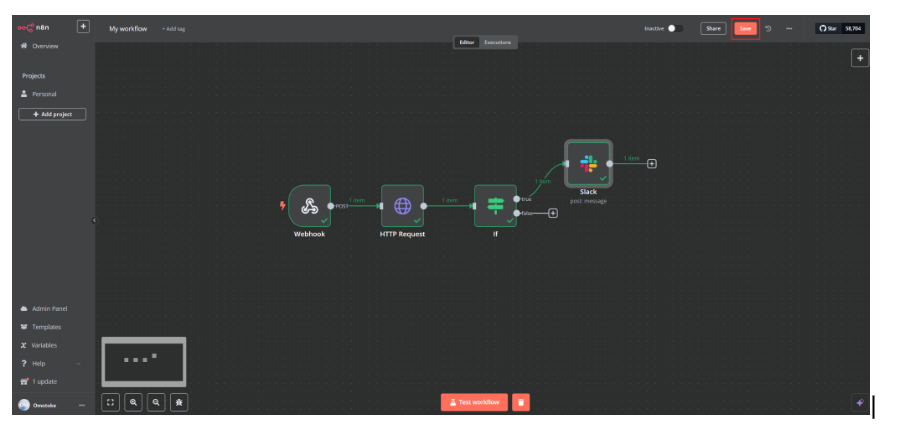
Finally, toggle the workflow to Active so it will automatically trigger whenever a new lead comes in. Congratulations! You've officially set up your Big Fish Swimming workflow!
Want to learn more about internal tools and how to build them? Check out our sections on low-code tools like Notion and Airtable, or developer tools like Retool and Windmill.

